
I have been gardening for thirty-two years, and in all that time I can tell you the single most common mistake people make with insect hotels: they hang them in the wrong place, watch nothing move in, and conclude that insect hotels simply do not work. They do work. Beautifully, in fact. But they need the right conditions just as much as any plant you might put in the ground. Last spring I mounted a Niteangel Natural Wooden Insect Hotel in a new spot by my south-facing fence and had the first solitary bee sealing a bamboo tube within three weeks. The steps below are exactly what I did, and exactly what I would tell any gardening friend over a cup of tea.
Before anything else, it helps to understand who you are catering for. Solitary bees such as red mason bees and leafcutter bees are your most reliable guests in a well-placed hotel. They do not sting, they do not swarm, and they are extraordinary pollinators. Lacewings, ladybirds, and certain butterfly species will also take up residence if the conditions suit them. None of these creatures will move into a hotel propped against a shady north wall or dangling somewhere it swings about in the wind. Location is everything.
If your current insect hotel is sitting empty, the structure itself may not be the problem.
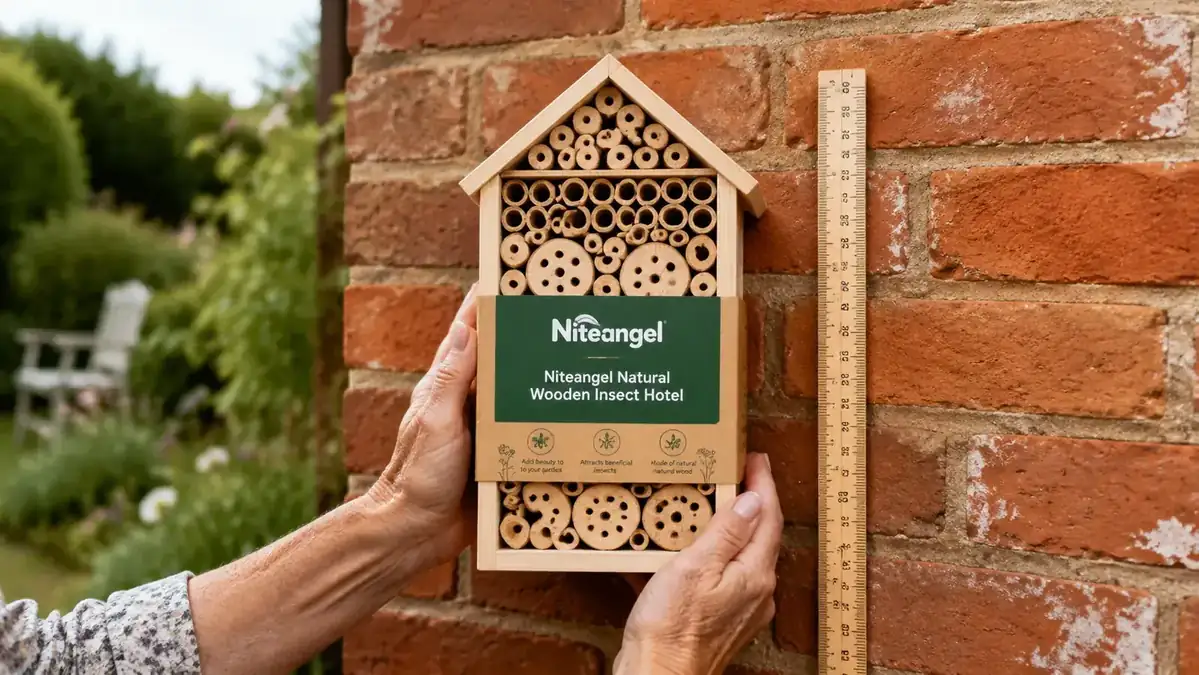
The Niteangel Natural Wooden Insect Hotel uses untreated pine, bamboo canes, and pine cones in a multi-chamber design that gives different species exactly what they need. It is the one I recommend to gardening friends who want results, not just a decorative garden ornament.
Amazon Check Today's Price on Amazon →Step 1: Choose the Right Position on Your Property
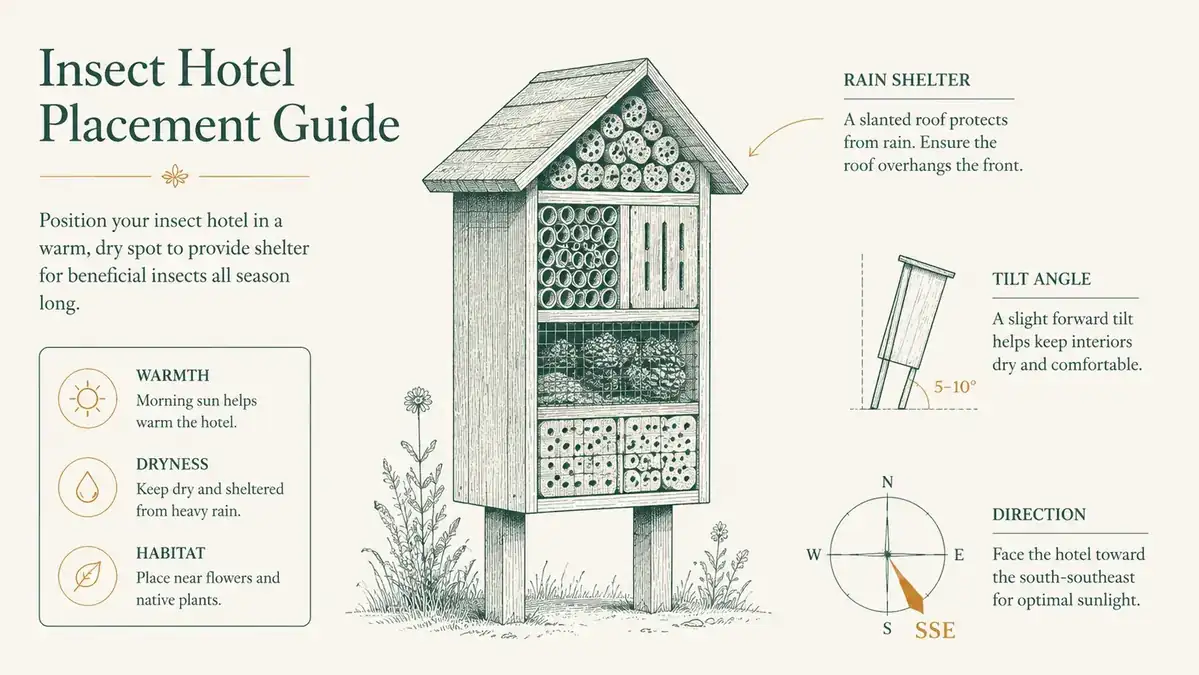
Walk around your garden at around ten o'clock on a clear morning and note where the sun falls longest. That is your best candidate wall or fence. A south or south-southeast facing position gives the hotel maximum warmth through the day, which is exactly what solitary bees need to raise their young. The chambers inside the hotel need to warm up quickly in the morning to activate the insects and encourage them to go about their foraging.
Avoid positions that catch the prevailing wind directly. If you live in a region where westerly winds are common, a wall or fence that has some natural shelter to the west is ideal. An insect hotel that swings or vibrates discourages residents, just as a house with rattling windows would discourage any of us. A solid, still mounting point is not a luxury; it is a requirement. My own is fixed to a fence post with two stainless steel screws, and there is not a millimetre of movement in it.
Avoid areas directly under a roof overhang that drips, or tucked under dense overhanging shrubs. The hotel needs to be dry internally. Rain water sitting in bamboo tubes encourages mould, which destroys eggs. A slight forward tilt of five to ten degrees, so the front of the hotel angles just a little downward, will help any rain that does get inside to drain out rather than pool.
Step 2: Mount It at the Correct Height
Height is more important than most guides admit. The sweet spot for the majority of solitary bee species is between one metre and one and a half metres from the ground. Too low and the hotel is in the zone where ground moisture, slugs, and foraging small mammals become a nuisance. Too high and the early morning sun takes longer to warm the chambers, which delays activity and reduces the likelihood of settlement.
I fix the bottom of the hotel at precisely one metre from the ground. That puts the mid-point of the structure at roughly one metre twenty, which experience tells me is the height at which my red mason bees are most comfortable exploring. If you are installing for lacewings specifically, they tend to prefer slightly higher positions, up to two metres, as they roost at greater height than bees. But one metre to one and a half metres is the range that serves the widest variety of cottage garden insects well.
Step 3: Orient the Face for Maximum Sun and Minimal Rain
Once you know your mounting position, take a compass or open your phone's compass app and confirm the face of the hotel is pointing somewhere between south and south-southeast. This is the orientation that captures the most sunshine in the northern hemisphere across the longest part of the day. East-facing positions warm up quickly in the morning but cool down by early afternoon, which is acceptable but not ideal. West-facing positions are the worst choice; they miss the critical morning warm-up entirely.
The slight forward tilt I mentioned in Step 1 has a dual purpose here. It helps drainage, yes, but it also means the face of the hotel catches the low winter and early spring sun at a more direct angle. In March and April, when you most want overwintering insects to wake up and solitary bees to begin nesting, that forward tilt genuinely makes a difference to how fast the interior chambers warm through.
Step 4: Plant the Right Things Nearby
An insect hotel with no food source nearby is like a lovely cottage with no shops or garden for miles. Your guests need flowering plants within easy flying distance, ideally within three to five metres of the hotel entrance. For solitary bees, the best choices in a cottage garden are lavender, single-flowered roses, borage, marigolds, echinacea, and phacelia. These are all plants that provide accessible pollen and nectar without the bee having to fight through layers of petals bred for looks rather than function.
Butterflies appreciate a slightly different set of plants nearby. Buddleia is the classic choice, but also consider verbena bonariensis, marjoram, and single dahlias. If you can manage a small patch of nettles in a tucked-away corner of the garden, you will find that comma, peacock, and small tortoiseshell butterflies may use the hotel for roosting. They do not nest inside the tubes as bees do, but they will shelter in the larger chambers of a well-designed multi-chamber hotel, particularly on cool autumn evenings.
A shallow dish of water placed within a metre or two of the hotel is also worth doing. Bees need water to mix with pollen when provisioning their cells. A terracotta dish with a few pebbles sitting in two centimetres of clean water gives them a safe landing spot and a constant supply. Top it up every couple of days in dry weather.
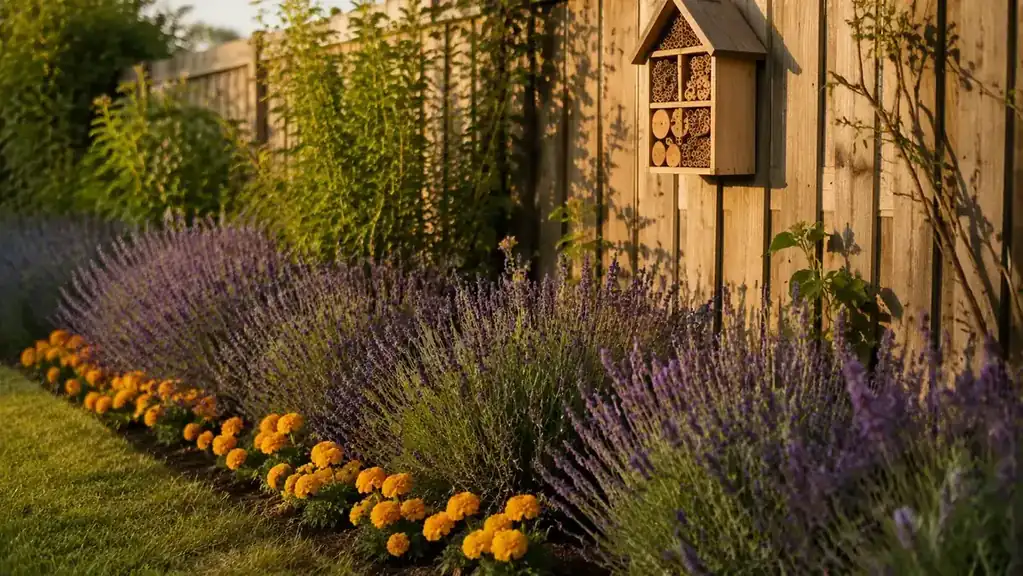
An insect hotel in the right spot with lavender at its feet will have guests within a single season. The same hotel on a north-facing wall will sit empty for years, and people will draw entirely the wrong conclusion about whether these things work.
Step 5: Choose the Right Time of Year to Install
The best time to install an insect hotel is late winter or very early spring, ideally in February or early March in the United Kingdom. Red mason bees, which are among the first solitary bees to become active, emerge as early as mid-March once temperatures reliably reach around fourteen degrees Celsius. If your hotel is already in place and warmed up by then, you have a real chance of having your first residents within days of them emerging.
The second-best time to install is autumn, after the season's insects have settled into overwintering. Installing in autumn gives the hotel time to weather slightly and lose any newness of smell before the following spring, which can sometimes cause insects to be wary. A hotel that has been outdoors through a winter already has the natural scent of the garden absorbed into its wood, and that seems to make it more immediately appealing to investigating bees come March.
If you are reading this in high summer and already have the hotel ready to go, install it now and plant companions immediately. You may not get nesting bees this year, but lacewings will often move in quickly for autumn roosting, and you will be perfectly positioned for the following spring. There is no wrong time to put a well-made insect hotel in the right spot. There is only a less-than-ideal time, and even that is better than leaving it in a garage.
Step 6: Follow a Simple Annual Maintenance Schedule
In February, check the hotel without disturbing any sealed tubes. Look for any chambers that have suffered moisture damage over winter. If a bamboo tube has split or shows signs of mould, remove it carefully and replace it with a fresh pre-cut bamboo tube of the same diameter. Do not open sealed tubes. Those mud plugs or leaf-roll seals contain eggs or pupae. Opening them is the equivalent of demolishing the house around a sleeping family.
In June, do a light visual inspection. By this point, resident bees will have provisioned and sealed their cells, and new adults will be developing inside. The hotel should look busier than it did in early spring, with more sealed tubes visible. Note which chambers are in use and which are not. If certain chambers consistently go unused year after year, it may indicate that the diameter of the tubes does not match the species available in your garden. You can replace unused sections with tubes of slightly different diameters.
In October, do a fuller inspection before the weather turns cold. Remove any obviously failed sections, check that the mounting screws are still firm and the hotel has not shifted, and clear any debris from the entrance area. Do not clean the hotel aggressively. Old pheromone traces left by previous residents actually attract new residents the following year. A hotel that looks slightly used is a hotel that looks occupied, and that is exactly the impression you want to give.
What Else Helps
Beyond the six steps above, a few small additional measures make a meaningful difference. First, avoid using pesticides anywhere near the hotel or its companion planting. This seems obvious, but even systemic pesticides applied to plants at the far end of the garden can be carried back to the hotel in pollen. If you do need to treat a plant for pests, use a targeted organic option and do it in the evening when foraging bees have returned for the day.
Second, if you can find a patch of bare, dry soil within a few metres of the hotel, leave it undisturbed. Some solitary bee species are ground-nesters rather than hole-nesters, and a sunny bare patch of soil near your insect hotel creates a small colony of complementary pollinators. The ground-nesters and the hotel residents will forage together and you will notice a marked increase in activity throughout your cottage garden.
Third, resist the temptation to move the hotel once it is established. Even if you decide the spot is not quite right, moving it mid-season can disorient residents who are navigating back to their exact home location by memory and landmark. If you need to move it, do so in late autumn when residents are dormant, and place it as close as possible to the original position for the first year.
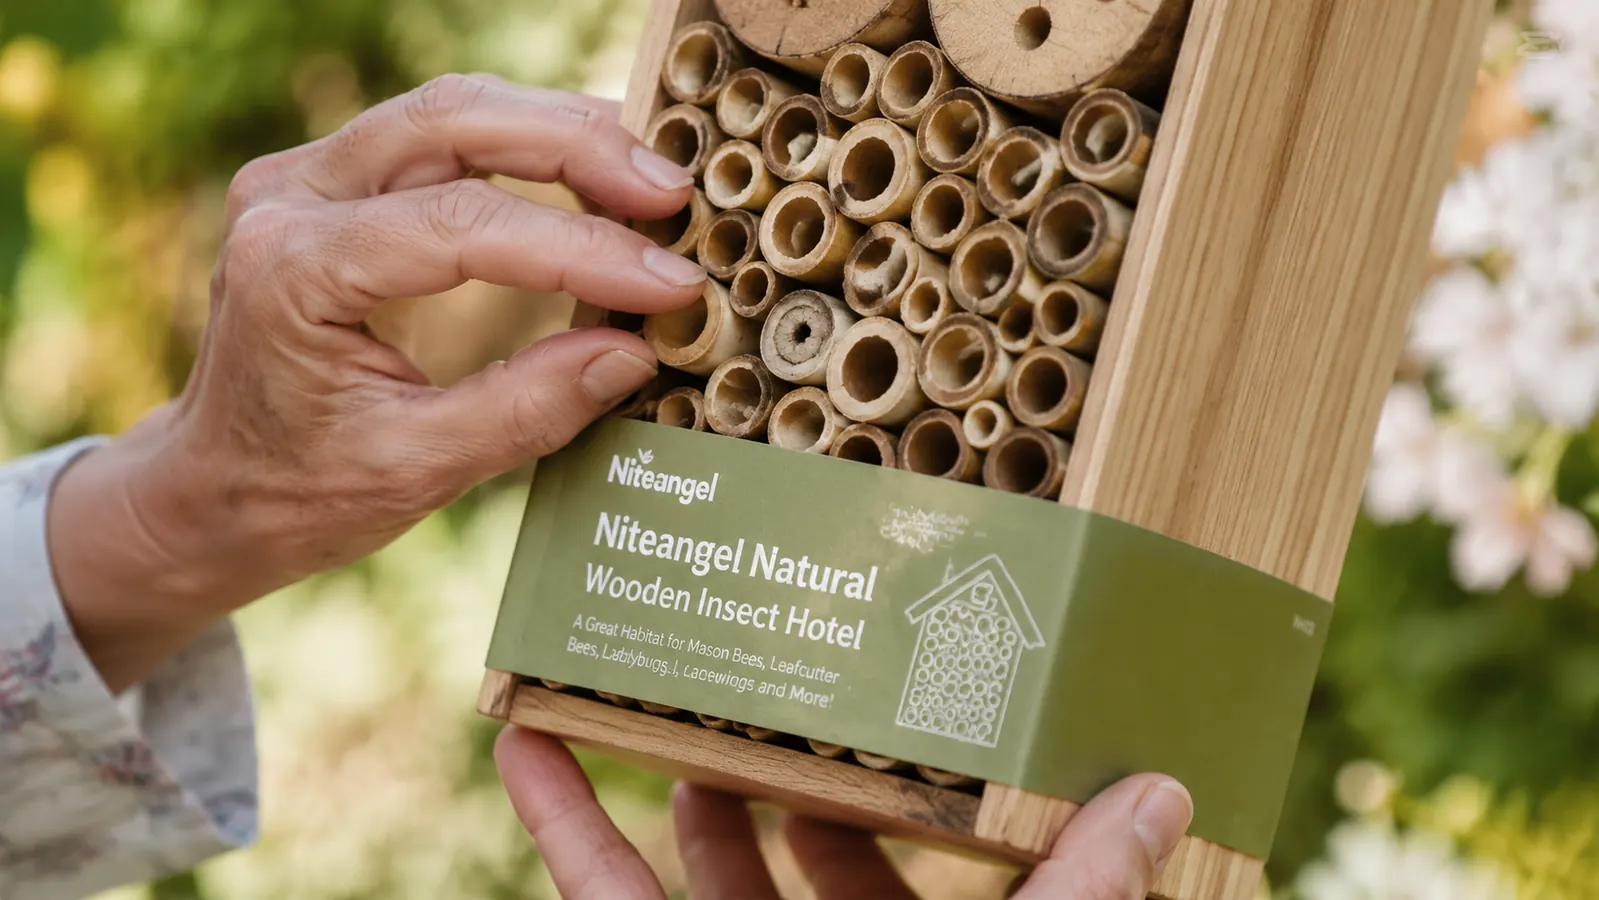
The Niteangel insect hotel gives you the right chambers for the right residents, made from untreated wood that insects actually trust.
If you follow these six steps and pair them with a well-made hotel, there is every reason to expect your first residents by the end of your first full spring season. The Niteangel Natural Wooden Insect Hotel is the one I use and the one I recommend without hesitation to anyone serious about bringing more wildlife into their garden.
Amazon Check Today's Price on Amazon →